Sensor SDK
That's a Blue Pill
NiftyDrum is powered by the STM32F103C8T6 microcontroller, the same chip found in the "Blue Pill" development board.
If you're unfamiliar with the Blue Pill, it’s a widely recognized and versatile board based on the STM32F103C microcontroller family. With 72MHz clock speed, 64KB of flash memory, and 20KB of RAM, it offers plenty of flexibility for customization and experimentation.
Arduino IDE
Since NiftyDrum uses the same microcontroller as the Blue Pill, you can program the board using the Arduino IDE.
Arduino STM32 SDK
Once you have a working ARM None-EABI toolchain, you will need to install the Arduino STM32 RonnaTech SDK.
Note
Although it's called Arduino STM32 RonnaTech SDK, this is actually a fork of Roger Clark's Arduino STM32 repository with some minor modifications.
Here are the steps to follow to install the SDK and use it in the Arduino IDE:
- Open File > Preferences in the Arduino IDE.
-
Add the following URL to the Additional boards manager URLs field:
-
Open the Boards Manager and search for RonnaTech.
- Select
Ronna Technologies STM32F1boards and install the latest version.
Now, go to the board manager and search for stm32.
Once that is done, you can select the board from the menu:
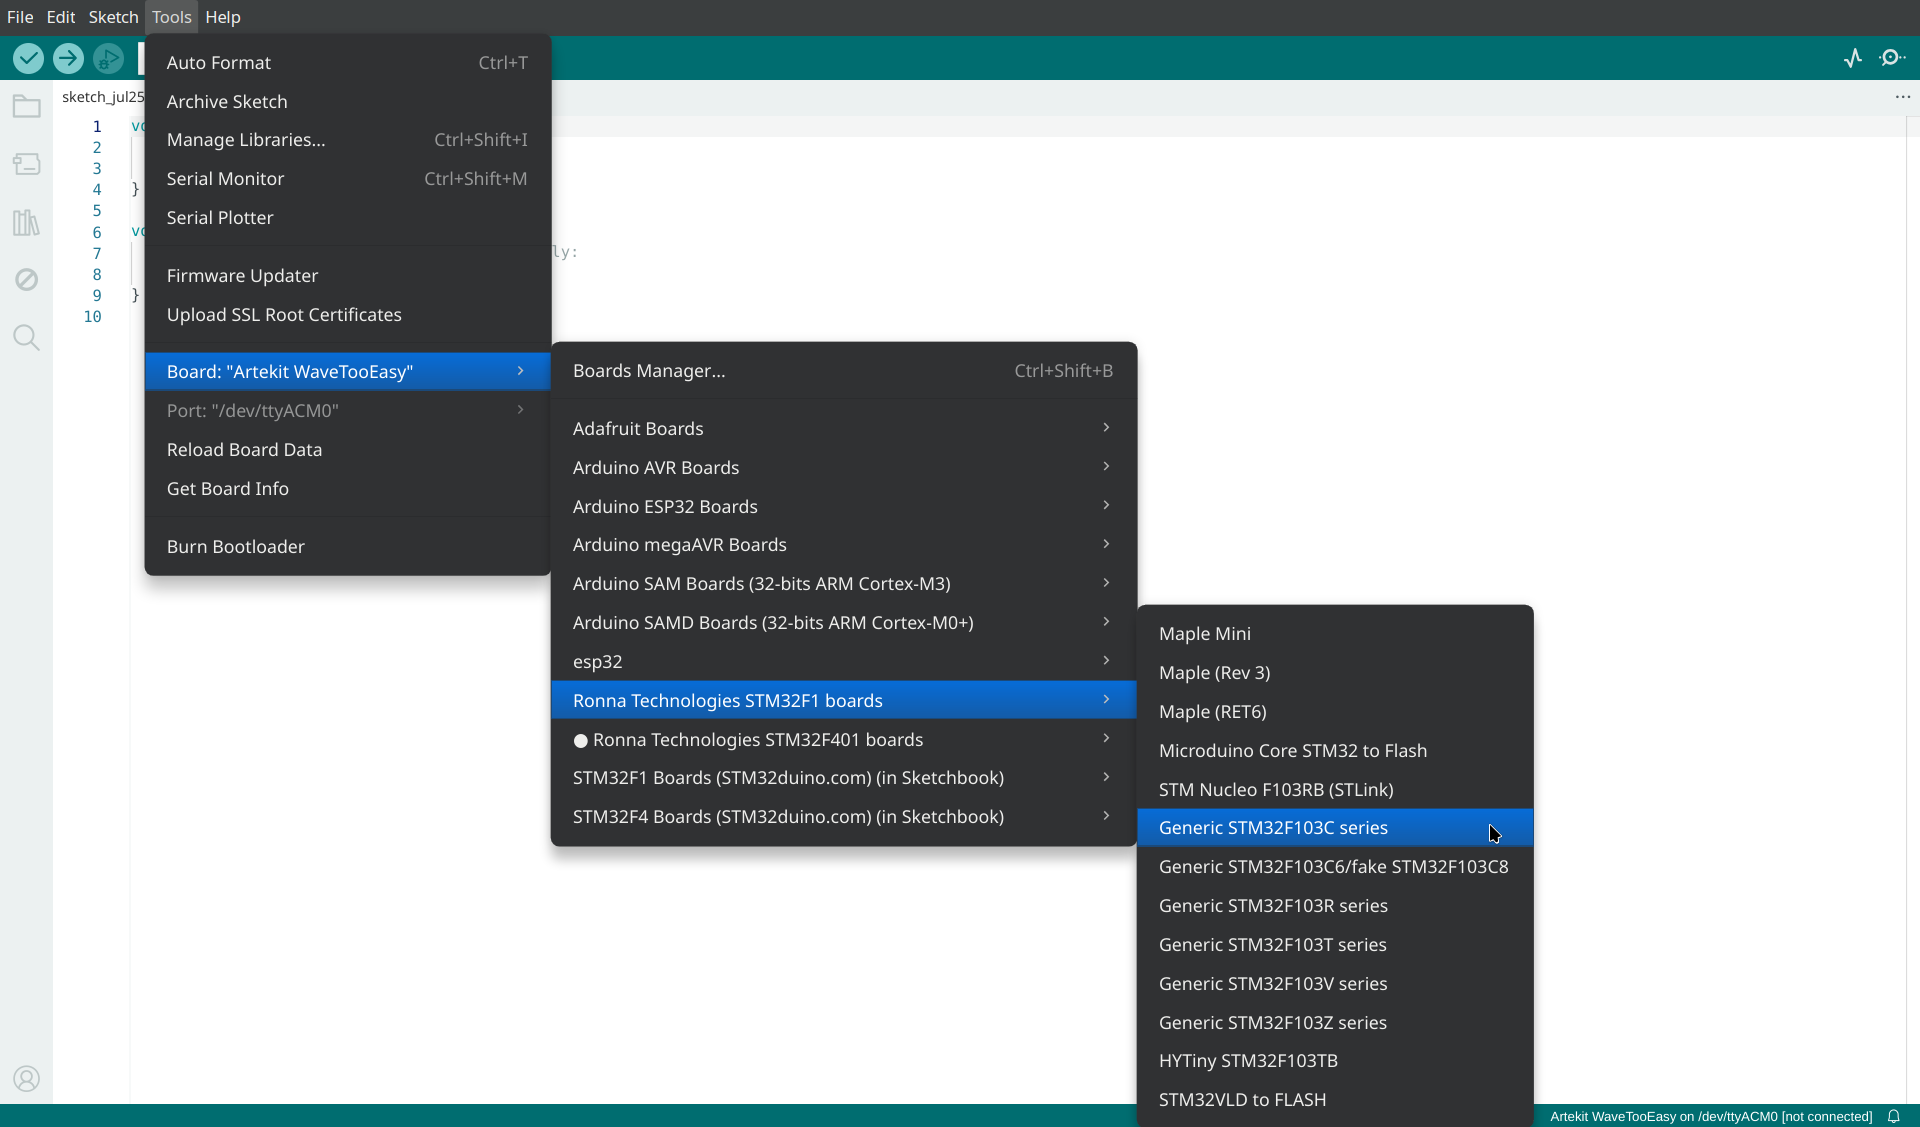
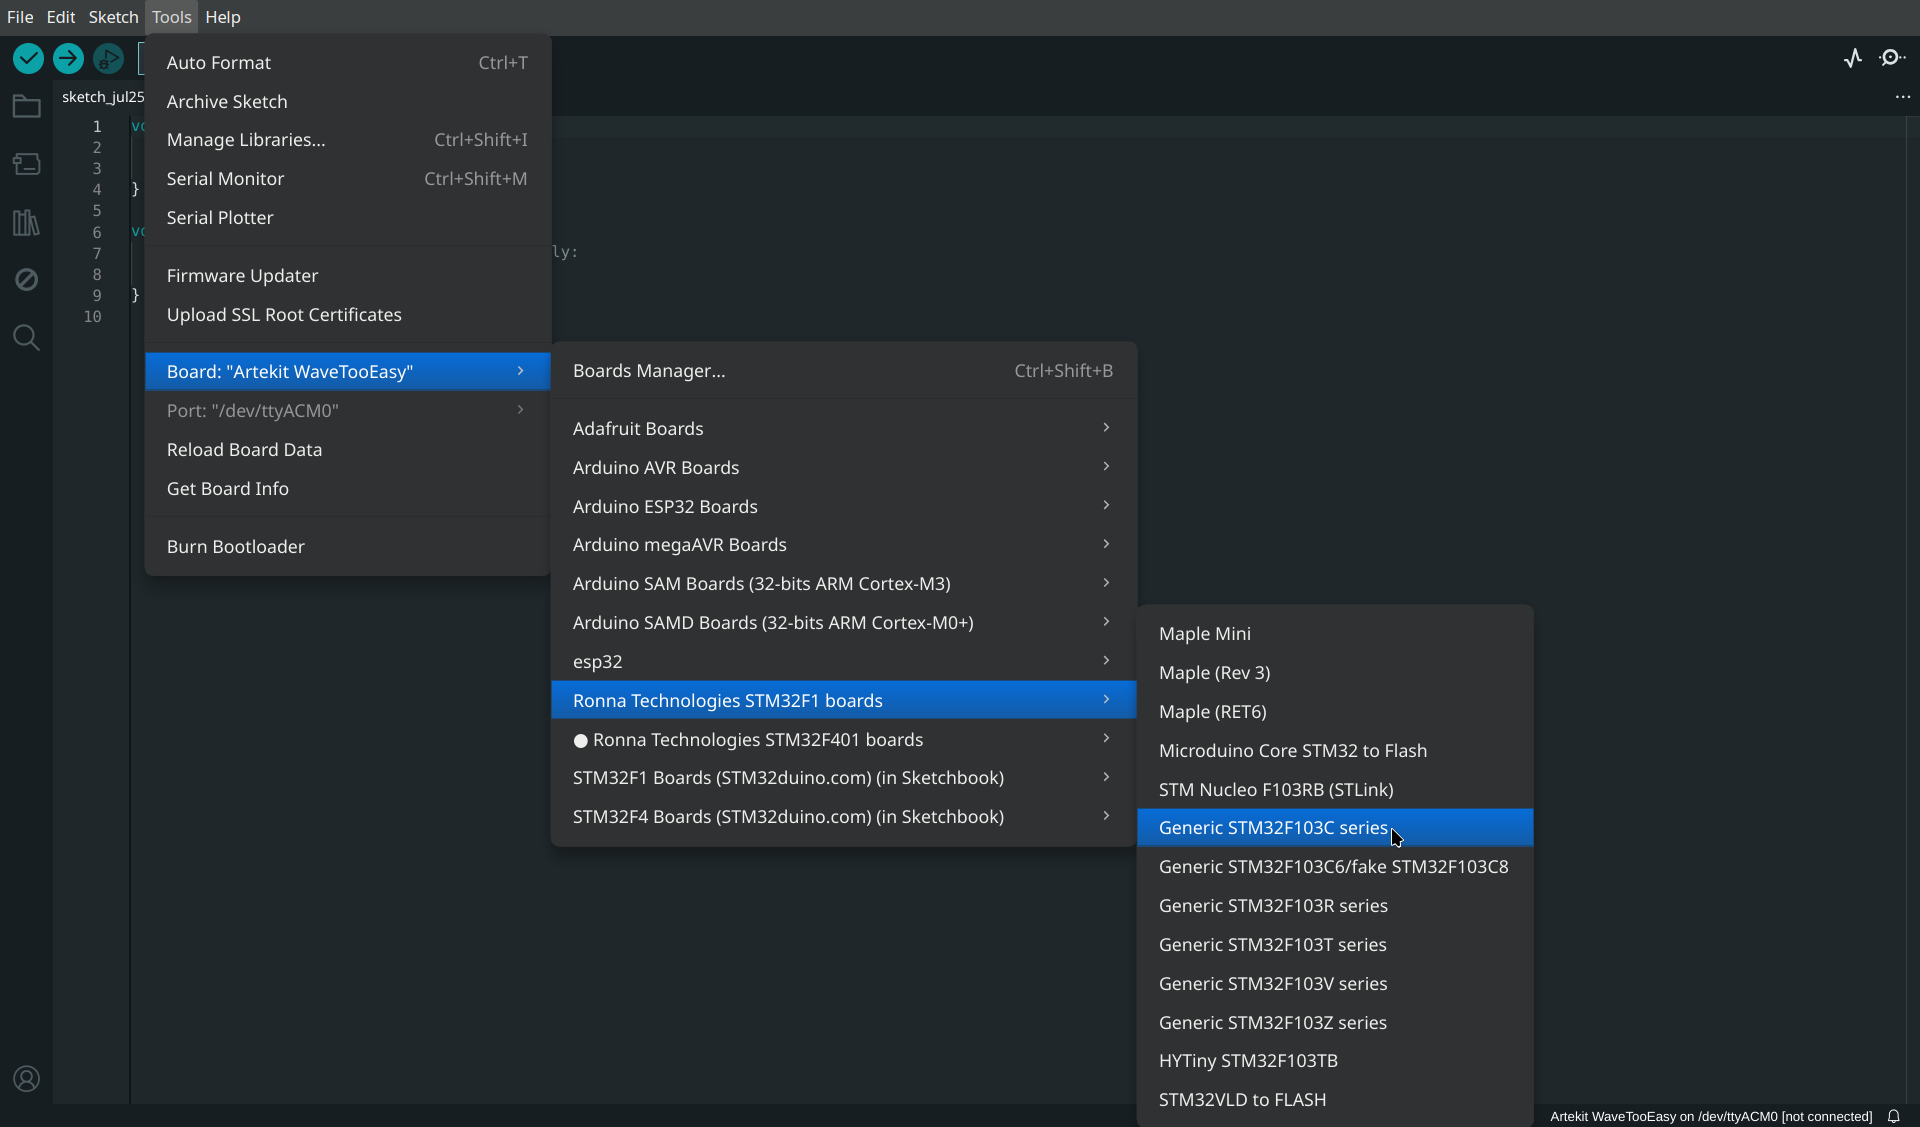
And configure the IDE to use the correct board specs and upload method:
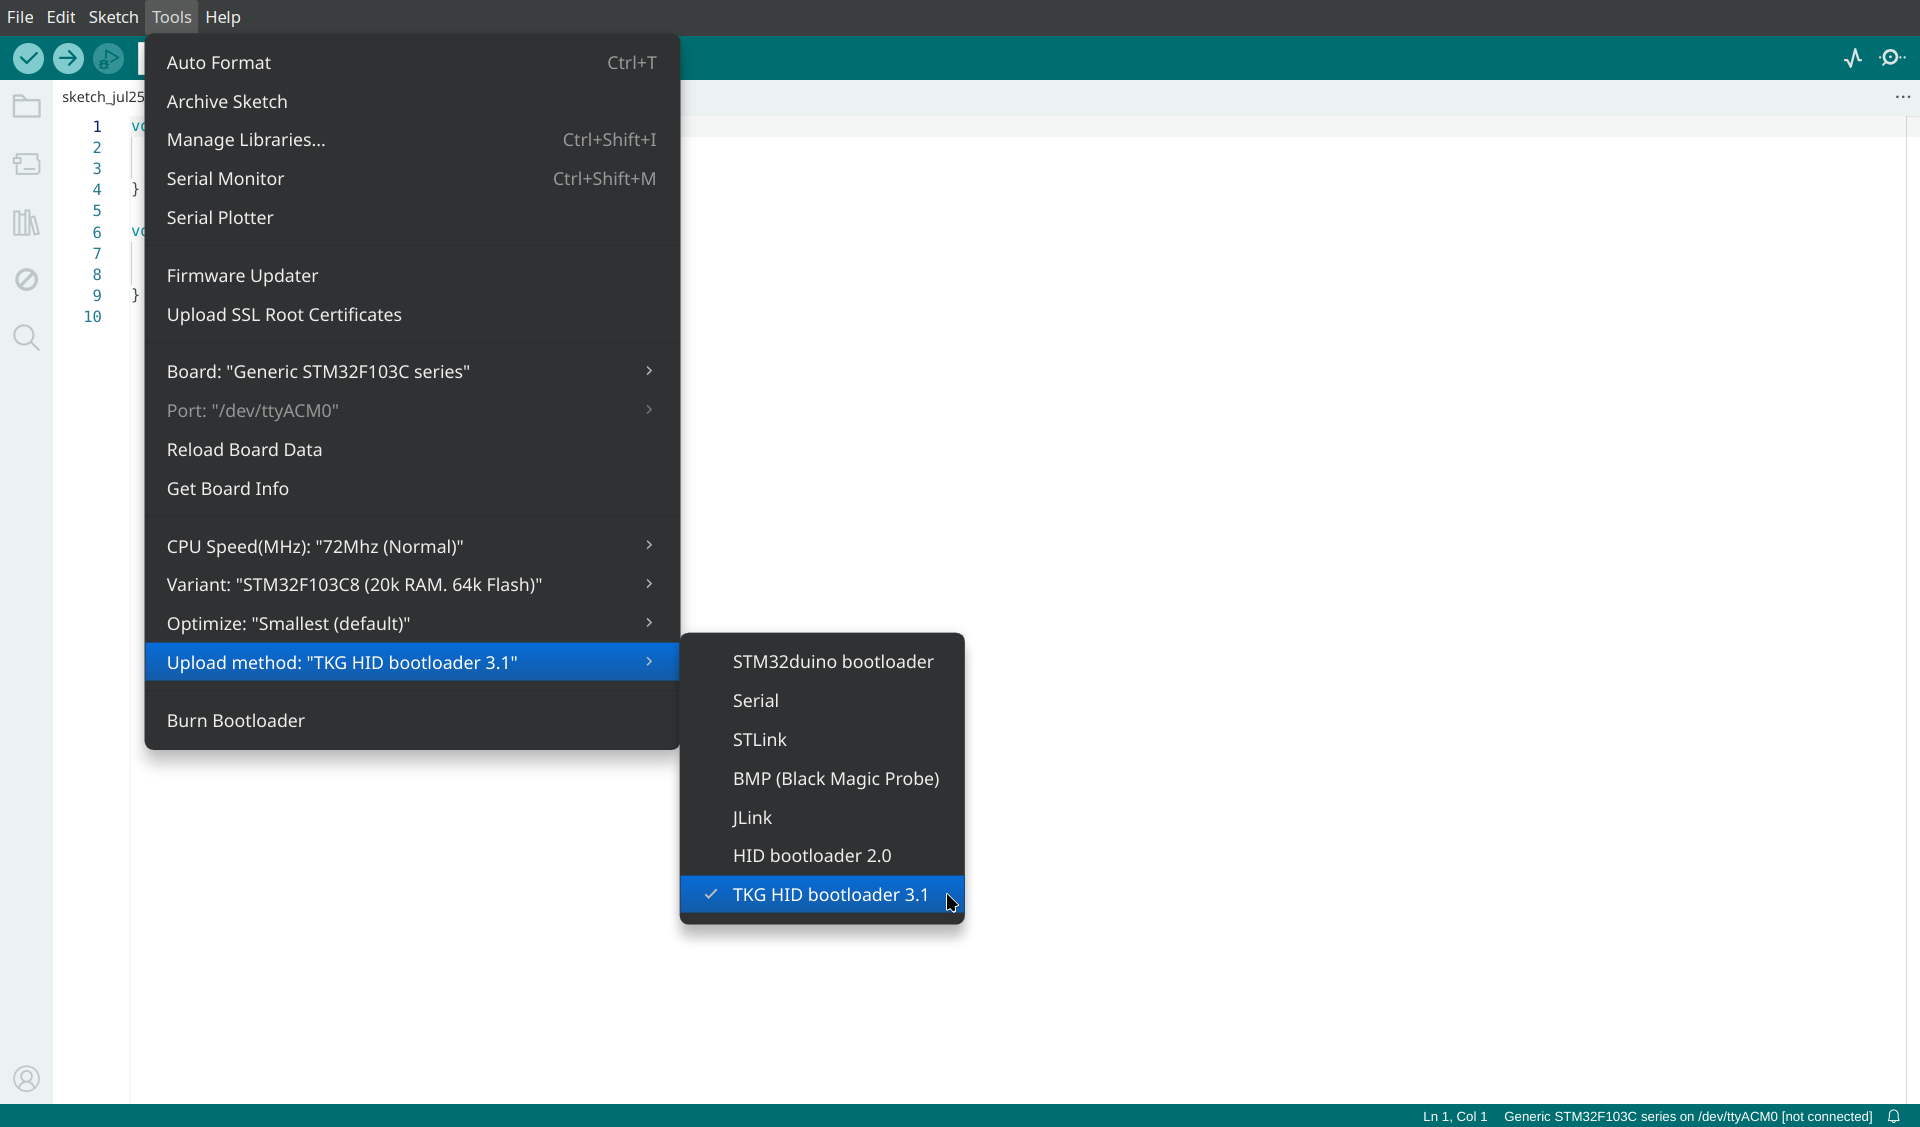
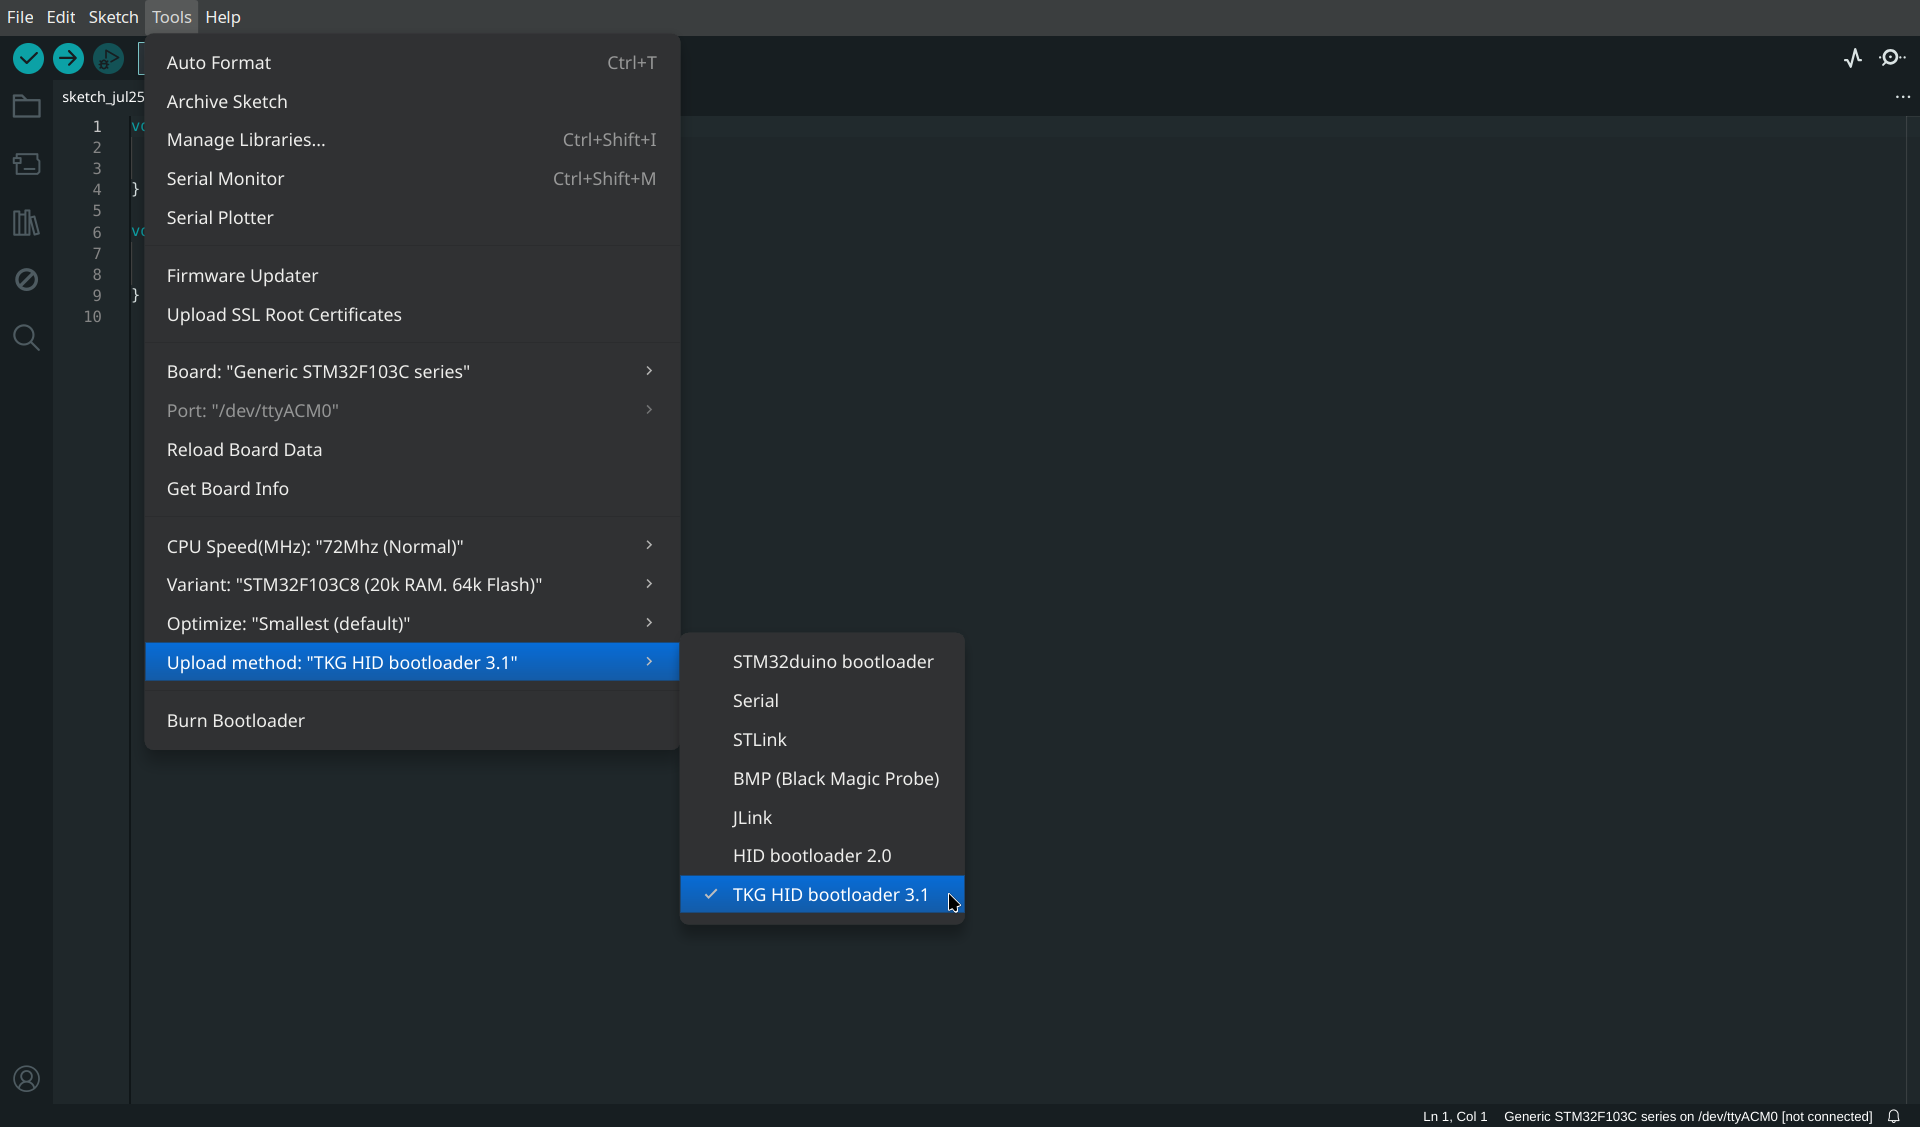
Be sure to select the correct CPU frequency, variant, and upload method, as shown on the image above.
The most reliable way to build the firmware is to go to the Sketch menu and click on Export Compiled Binary, or use the shortcut Alt+Ctrl+S. Then, to find the firmware file, got to Sketch again, and Show Sketch Folder, or use the shortcut Alt+Ctrl+K.
To upload the firmware to the board, first enter bootloader mode on the board by double pressing the on-board button.
The LED should blink fast.
Download tkg-flash. pload the firmware via terminal:
Once the upload is complete, the board will restart automatically, and the app will reconnect to it.
Arduino CLI
In this section, I will describe how to setup a configuration file to compile and upload a sketch using Arduino CLI. The binary is available from most platforms, but if you want to install it yourself you can download it from GitHub.
Usually, I create a JSON file that holds the configuration I want. It looks like this:
{
    "configuration": "device_variant=STM32F103C8,upload_method=TKG-HIDUploadMethod,cpu_speed=speed_72mhz,opt=osstd",
    "board": "ronnatech:STM32F1:genericSTM32F103C",
    "sketch": "NiftyDrum.ino",
    "port": "/dev/ttyACM0",
    "output": "./output"
}
If you use VSCode, you can put the file into a .vscode folder, and install the Arduino Community Edition extension, and it will work out of the box.
#!/bin/bash

FQBN=$(jq -r '.board' arduino.json)
PORT=$(jq -r '.port' arduino.json)
CONFIG=$(jq -r '.configuration' arduino.json)
SKETCH=$(jq -r '.sketch' arduino.json)
OUTPUT=$(jq -r '.output' arduino.json)

rm -rf ./build/*

# Compile the sketch
./arduino-cli compile -v -v --fqbn "${FQBN}:${CONFIG}" --port $PORT $SKETCH --build-path build --output-dir $OUTPUT

# Upload the sketch
./tkg-flash $OUTPUT/$SKETCH.bin
Blink Example
Writing code for the NiftyDrum board is as straightforward as programming any Arduino. Here's a simple blink example:
// The setup function runs once when you press reset or power the board
void setup() {
  // Initialize digital pin LED_BUILTIN as an output
  pinMode(LED_BUILTIN, OUTPUT);
}

// The loop function runs repeatedly forever
void loop() {
  digitalWrite(LED_BUILTIN, HIGH);  // Turn the LED on
  delay(1000);                      // Wait for a second
  digitalWrite(LED_BUILTIN, LOW);   // Turn the LED off
  delay(1000);                      // Wait for a second
}
Sending MIDI Notes
#undef min
#undef max
#undef true
#undef false

#include <USBComposite.h>

USBCompositeSerial serial;
USBMIDI midi;

void setup()
{
    USBComposite.clear();

    USBComposite.setVendorId(0x0483);
    USBComposite.setProductId(0x5740);
    USBComposite.setProductString("NiftyDrum");
    USBComposite.setManufacturerString("Ronna Technologies");

    serial.registerComponent();
    serial.setTimeout(0);

    midi.registerComponent();

    USBComposite.begin();

    const auto br = 115'200;
    Serial3.begin(br, SERIAL_8N1);

    while (!USBComposite.isReady())
      ;

    pinMode(PC13, OUTPUT);
    digitalWrite(PC13, LOW);
}

void loop()
{
    for(;;)
    {
      midi.sendNoteOn(9, 38, 64);
      delayMicroseconds(100'000);
    }
}